Introduction to Dialogflow: Response Rules
In the first article, we created a chatbot using the Dialogflow platform, connected it to Telegram, and learned how to interact with it. If you tried to communicate with the bot, you noticed that it only reacts to a few text phrases. For any other text, it responds that it doesn't understand the interlocutor.
Now for the most interesting part. We need to teach the chatbot to react to various situations.
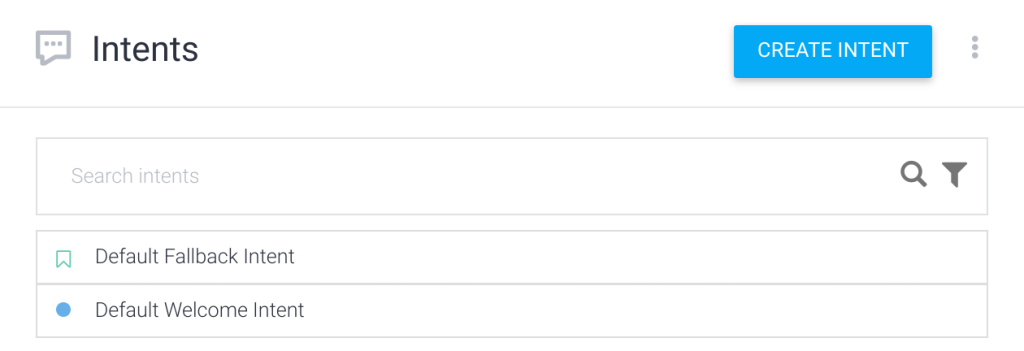
One of the main tools in Dialogflow is rules or intents. These are the bot's reactions to various phrases and events. If you go to the "Intents" section, you can see two default rules. These are "Default Welcome Intent" and "Default Fallback Intent". The first one describes the chatbot's reactions to greetings. And the second one is responsible for responding to phrases that the bot couldn't recognize. If you're already familiar with ManyChat, these rules can be compared to Welcome and Default blocks.
To create a new rule, click the "Create Intent" button. In the dialog box that appears, first give the rule a name. You need to write something in the "Intent name" field. This name is purely technical and serves more to help you not get confused in the variety of rules.
Oh, almost forgot. In my example, I'll create a chatbot that will tell the user about Jerusalem, provide information about upcoming city tours, and allow them to buy (or book) a tour. We won't do all this at once, of course. We'll improve the bot gradually, step by step.
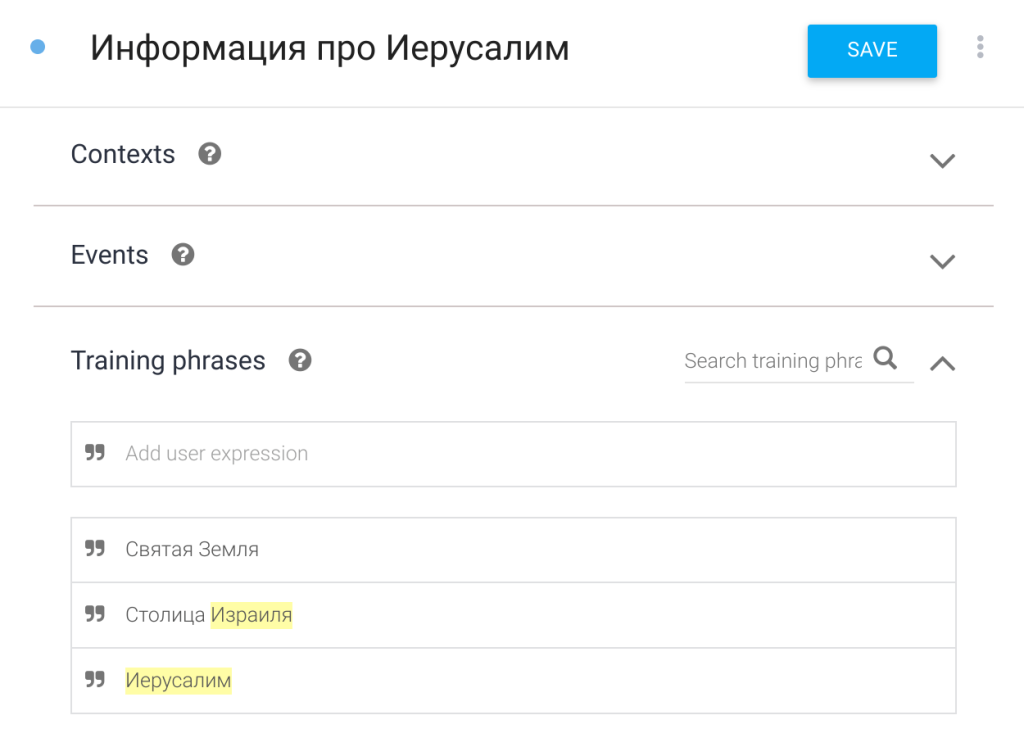
I'll name the first rule "Information about Jerusalem", and leave the "Context" and "Events" sections unchanged for now. We'll talk about them in the next lessons.
In the "Training phrases" section, we need to list all possible incoming phrases that will trigger the rule. In my example, this could be "Jerusalem", "capital of Israel", "Holy Land", etc. I'll add just a few phrases to start with.
We'll also leave the "Action and parameters" section without attention for now.
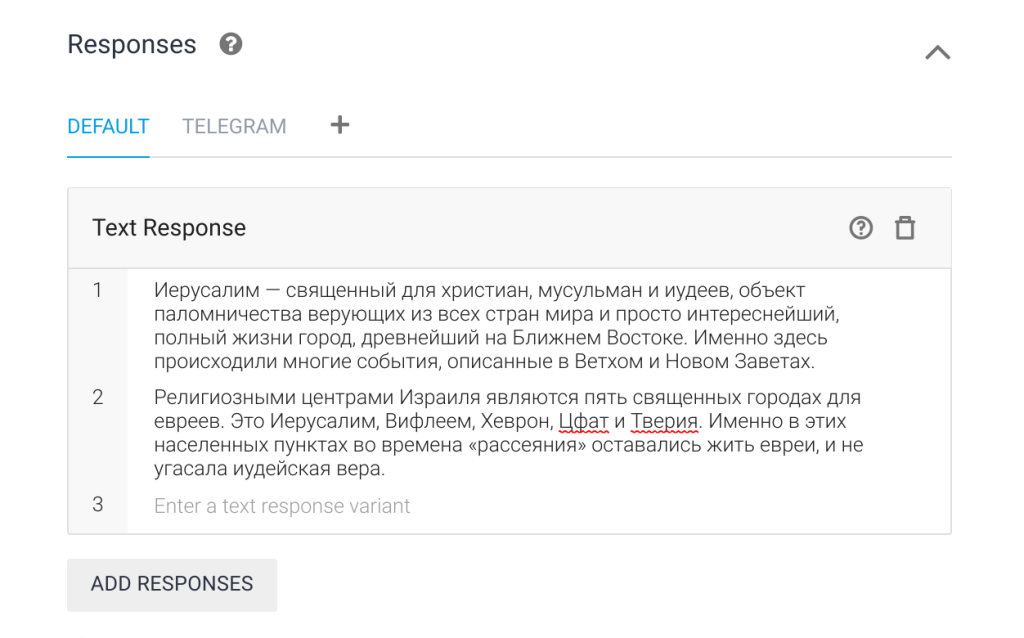
Just below is the "Responses" section, which we must fill out. These are the chatbot's reactions (responses) to the incoming "Training phrases". If you set more than one response option, the bot will randomly choose a response from the list.
We leave "Fulfillment" unchanged.
Don't forget to confirm the changes with the "Save" button.
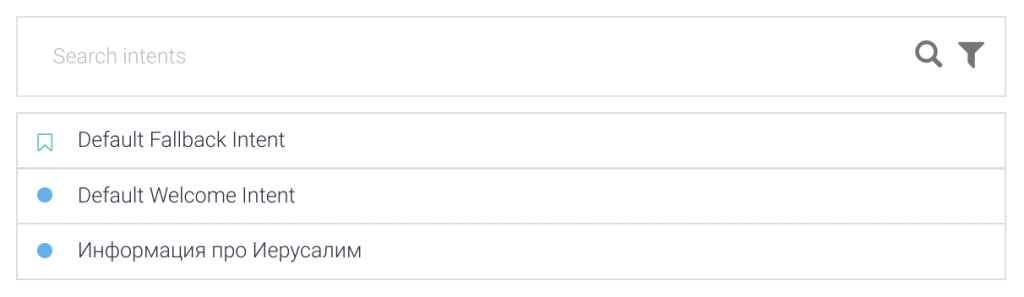
Great! We've created a new rule that can be seen in the Intents section.
After each change to the agent's logic, it automatically restarts the training phase, which progress can be monitored by the "gear" icon in the top left. While the gear is spinning, the neural network goes through the training mode and runs through all variants of questions and answers.
Try experimenting with rules. Create not one, but several rules and describe training phrases and chatbot reactions for them.
It will get more complicated from here.